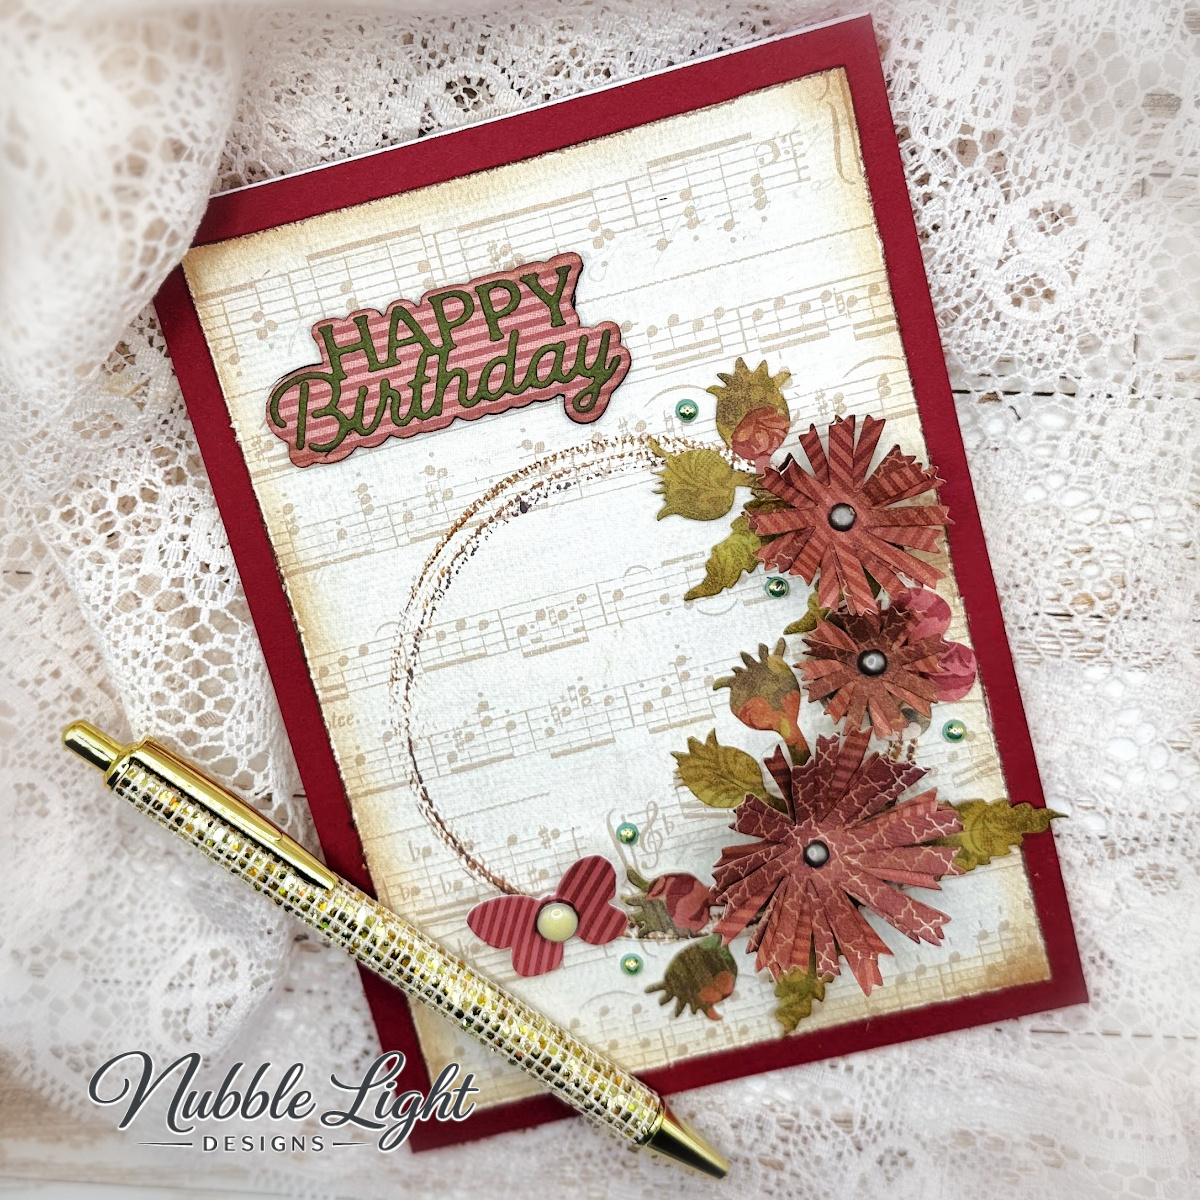
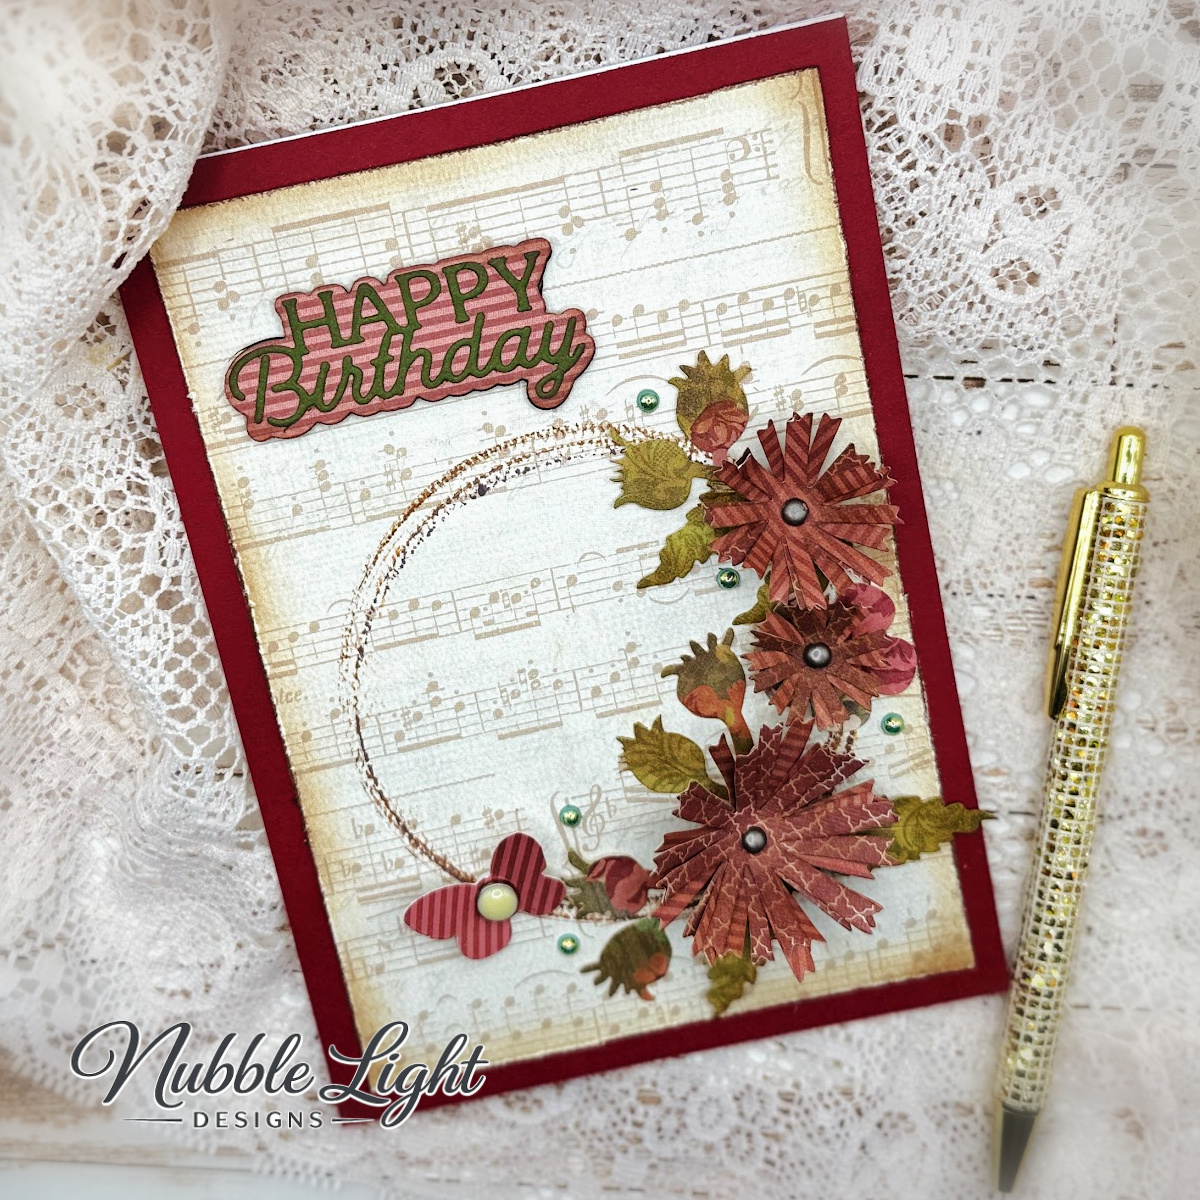
Who says wreaths have to start with a stamp or die? Hello Crafty friends! Priscilla here from Nubble Light Designs. For today’s birthday card, I reached for something a little more unconventional—a coffee cup! ☕ Instead of using a traditional circle outline to create my wreath shape, I inked up the rim of a coffee cup and stamped it directly onto the card front. By layering several impressions in different shades of brown ink, I created a soft, imperfect circle that adds a wonderfully organic feel to the design. The addition of the tassel flowers and foliage from the newly released Spellbinders STC-Serenity Garden Collection added to the card’s rustic elegance that’s perfect for celebrating a special birthday. Sometimes the best crafting tools are the ones already sitting in your kitchen cabinet!
🧰 Spellbinders Products Used
- “Tassel Flower and Ladybugs Etched Dies” from the STC Serenity Garden Collection.
- Layered Happy Birthday Etched Dies
- Classic White ColorWheel Cardstock
📋 Card Details:
- Created an A7 card base with Spellbinders Classic White ColorWheel Cardstock.
- Adhered a layer of red cardstock to it.
- Stamped a sheet music background stamp onto cream cardstock using Distress Oxide “Vintage Photo” ink.
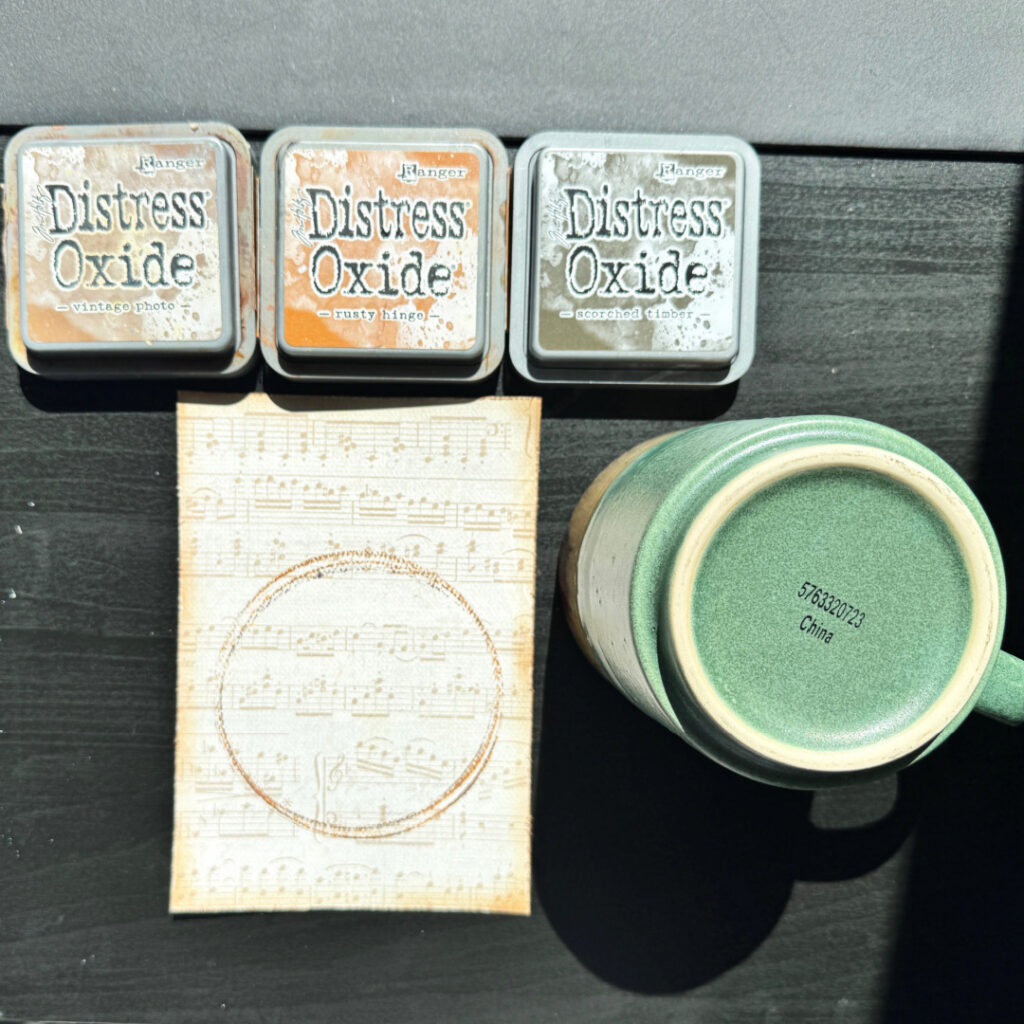
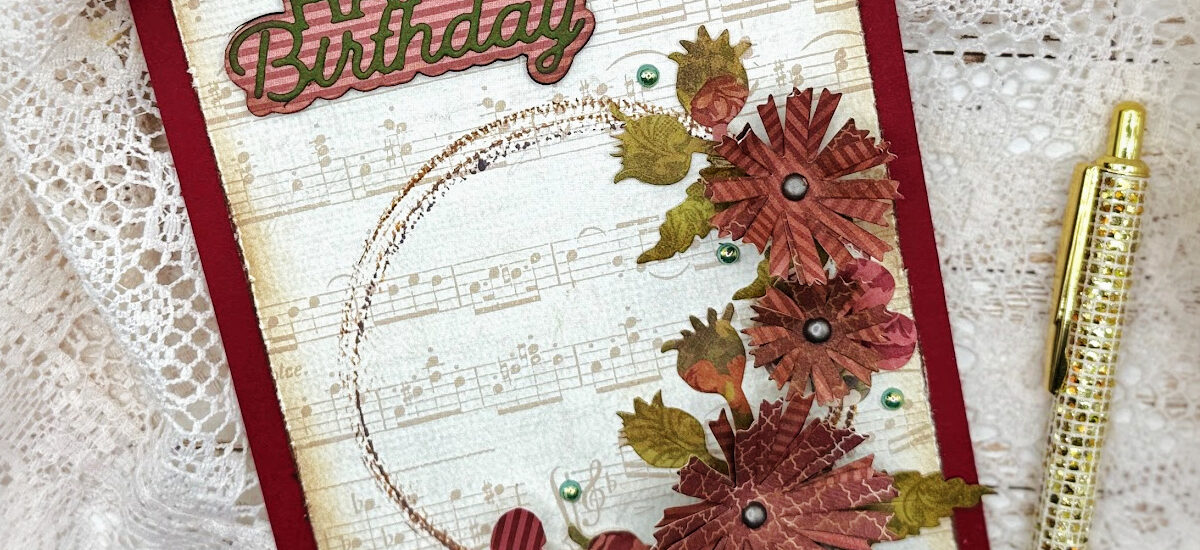
- Using a coffee mug from my kitchen, stamped several rings using Distress Oxide “Vintage Photo,” “Rusty Hinge,” and “Scorched Timber” inks to create an imperfect, “organic”- looking wreath.
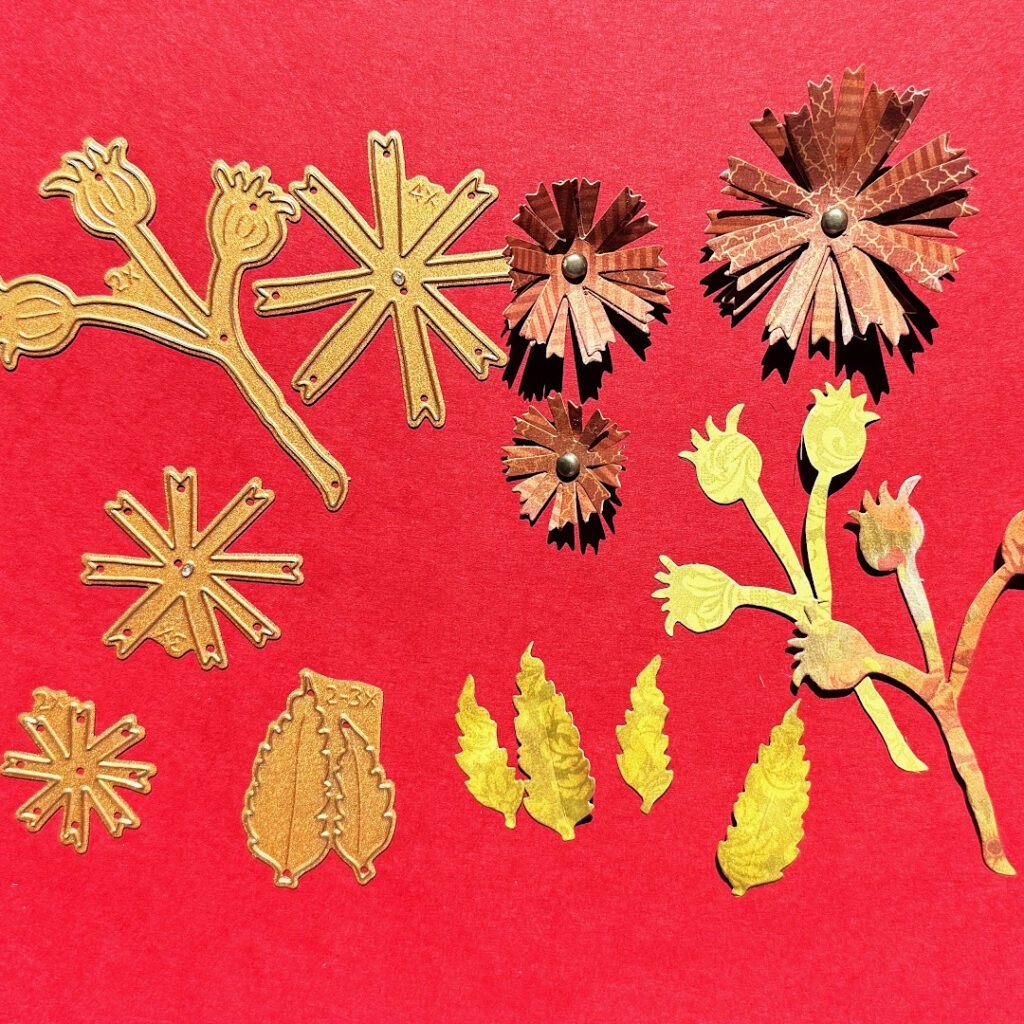
- Die cute the floral elements from the Spellbinders “Tassel Flower and Ladybugs Etched Dies” collection using patterned papers and edged them with brown ink to give them a “vintage” look.
- Added bronze brads to the center of the flowers.
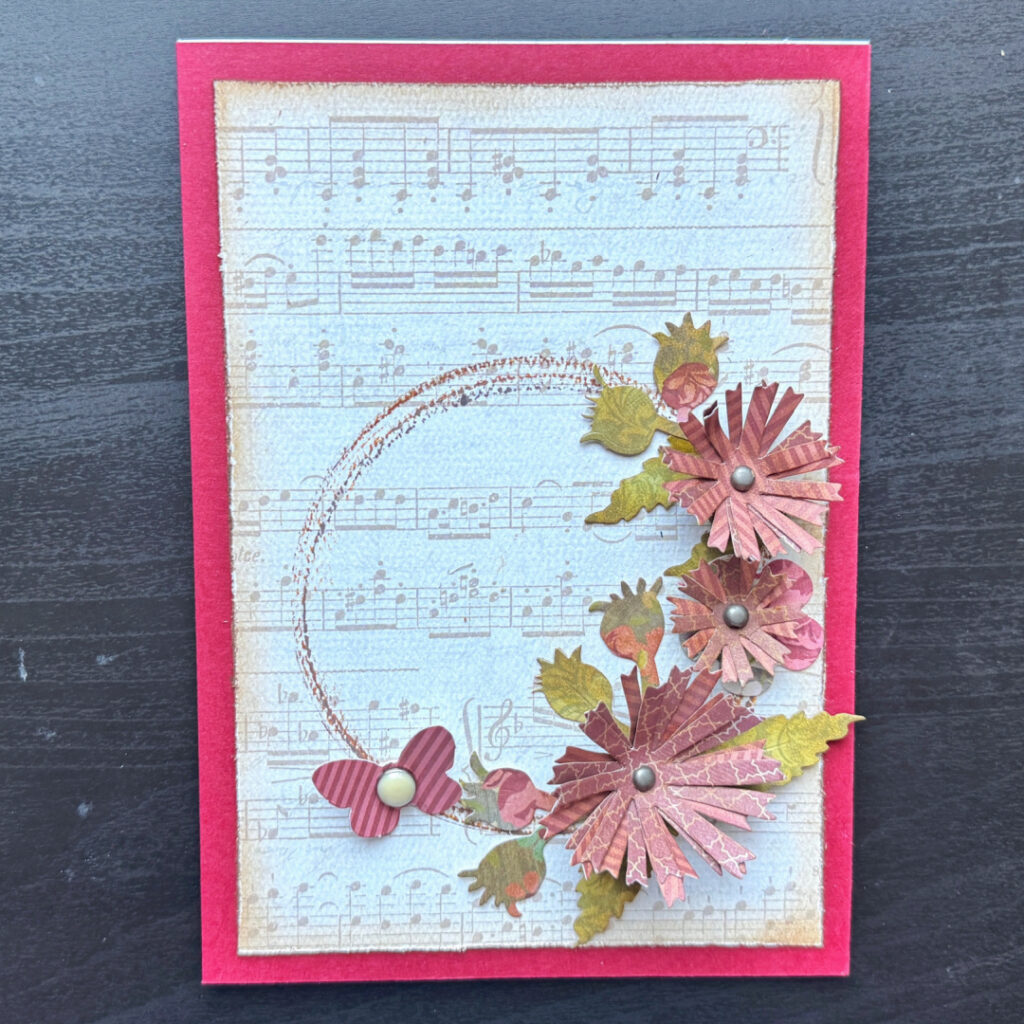
- Adhered the floral elements to the lower half of the wreath.
- Die cut the sentiment using the Layered Happy Birthday Etched Dies and coordinating patterned papers and then foam mounted it to the top left hand corner of the card.
- Added a butterfly element and sage green pearls from my stash for the finishing touch!
THANKS FOR STOPPING BY!
Follow my blog, Instagram, and Facebook and join me on my crafty journey as I play with stamps, ink, paint & paper… one project at a time.
I would be so grateful if you use my affiliate links in this post. No extra cost to you!