Hi Everyone, it’s Priscilla from Nubble Light Designs. Today I am on the Joy Clair Blog with a technique I had never done before — coloring digital images on my computer. It took me a while to figure out how to do it in my graphics editing program, PicMonkey, but once I got the hang of it, it was a lot of fun!
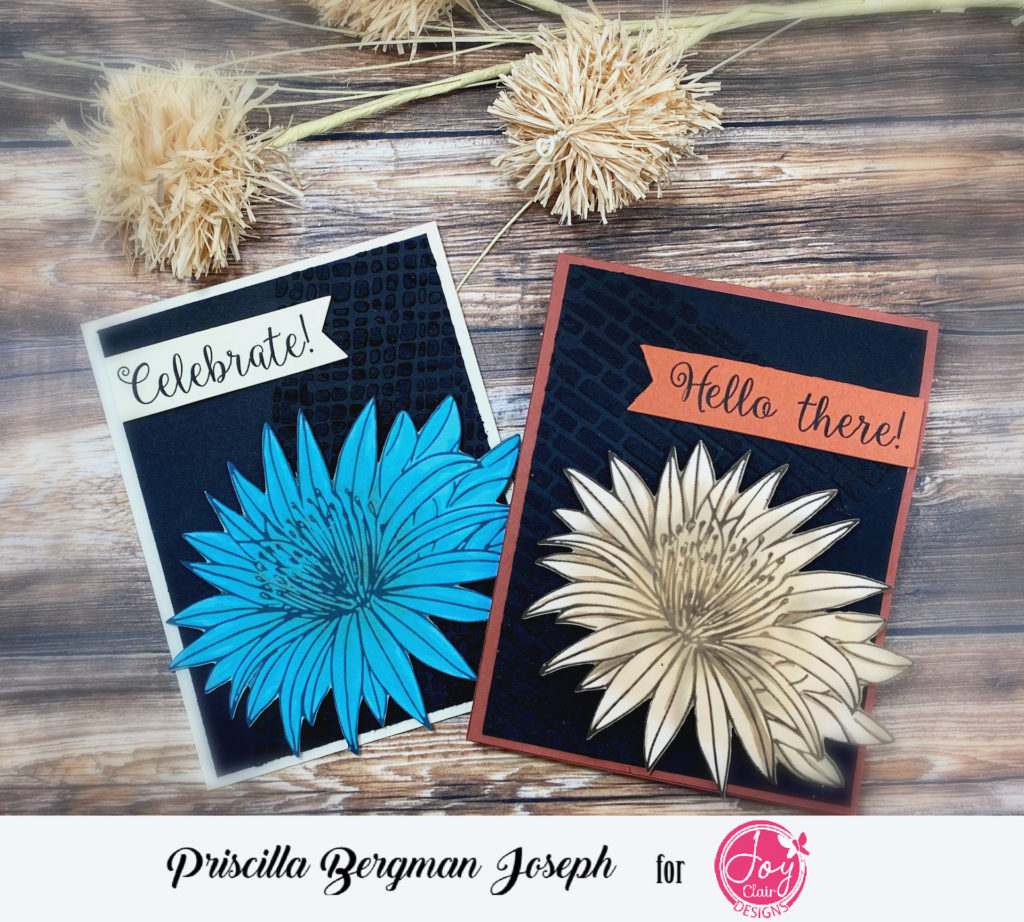
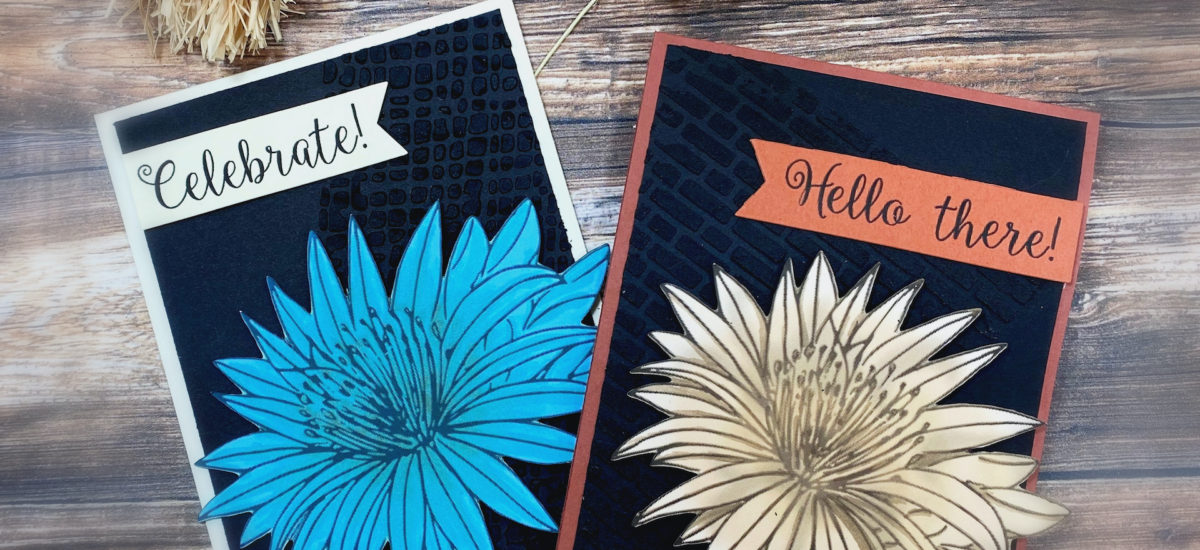
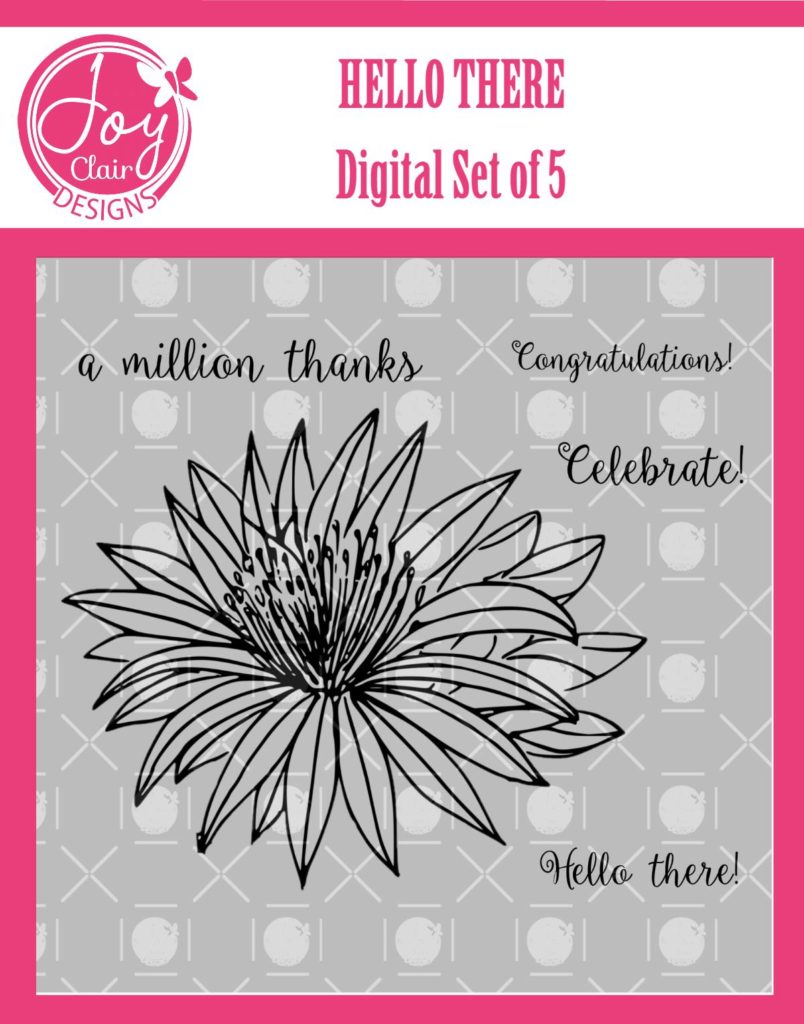
I created these 2 cards using the Joy Clair digital stamp collection, “Hello There,” which features a big chrysanthemum flower and 4 sentiments.
The Coloring Process
Using PicMonkey, I sized the chrysanthemum down to fit the front of an A2 card front. Then using one of PicMonkey‘s Touch Up Tools, “Blush Boost,” I moved the slider over to a blue pallet, clicked on the brush pen, and filled in the flower with blue “ink.” It was really easy to do!

I then printed out the flower on my color printer and fussy cut it out. Using a complimentary Spectrum Noir “Tri-Blend Marker,” I added shadows to the center of the flower and along some of the edges.

To create the card base, I used black embossing paste and a stone patterned stencil turned on the diagonal to create a black-on-black backdrop to set off the blue flower. The sentiment “Celebrate” is also from the “Hello There” stamp collection.
For Card #2, I use the same coloring technique in PicMonkey, choosing a tan color with the “Blush Boost” tool. I followed the same steps as above.
The backdrop for this card was created with black embossing paste and a brick stencil turned on the diagonal. Finally, I added the “Hello There” sentiment from the digital set.
I hope you enjoyed learning how I colored these digital images. It was really fun and easy to do!
Thank you so much for stopping by! Don’t forget to use my coupon code, NUBBLELIGHTDESI, for 5% off every time you shop the Joy Clair Designs Shop.
Stay Safe . . .
Priscilla😷