







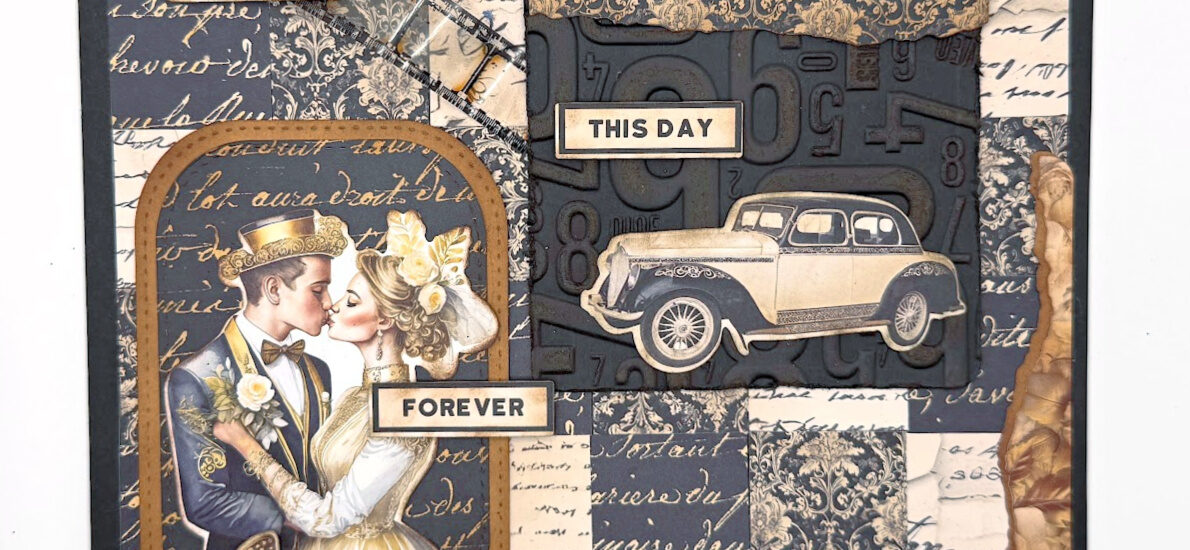
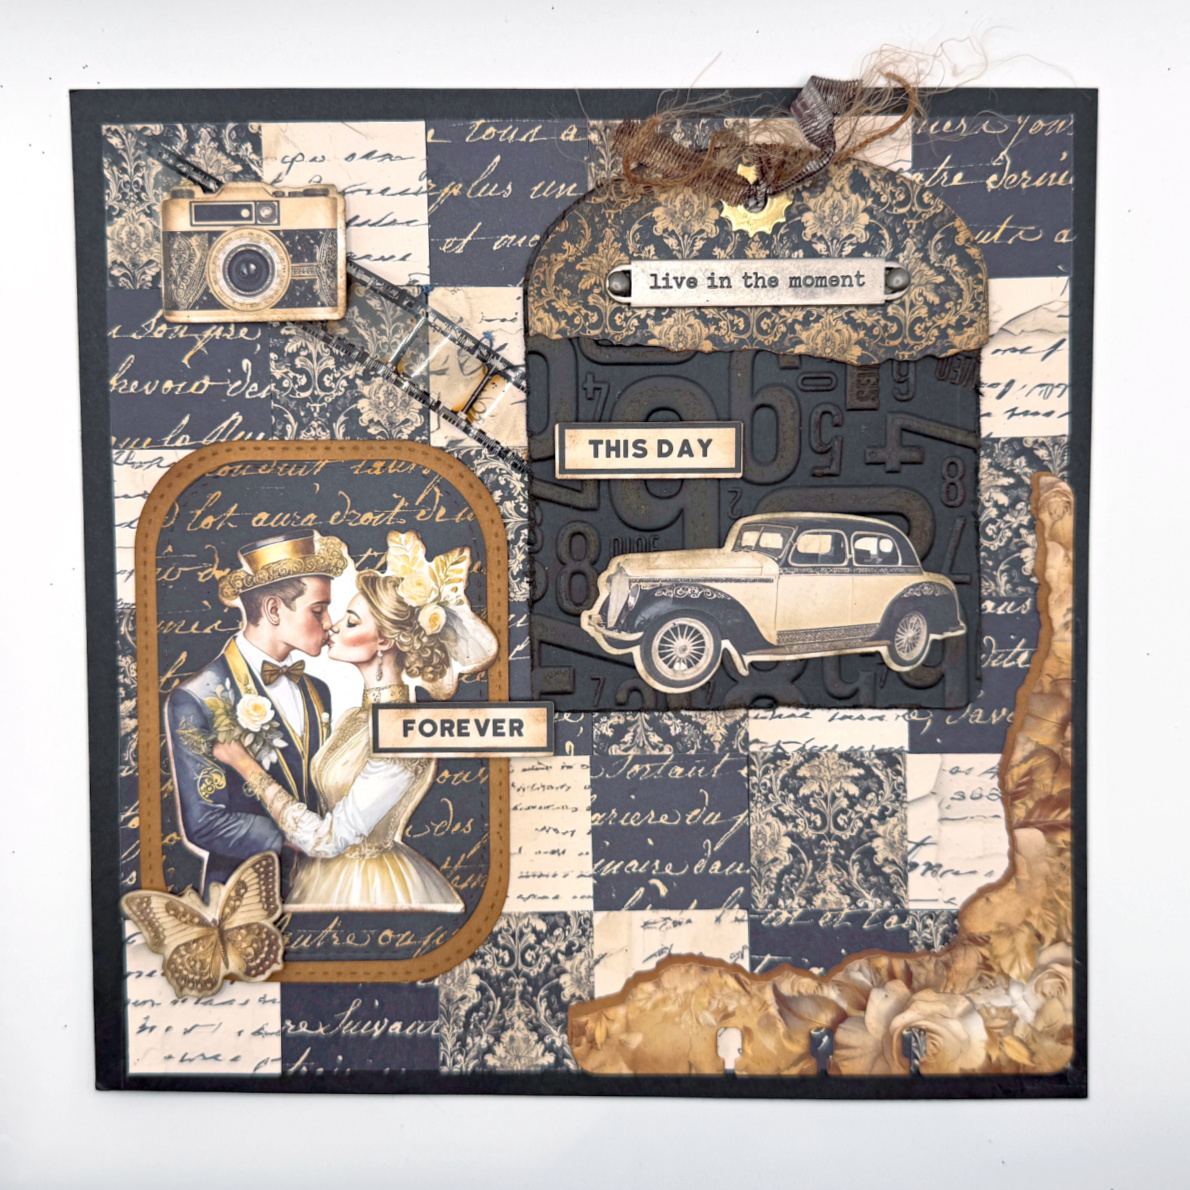
Weddings are filled with unforgettable moments, and creating a scrapbook layout is the perfect way to preserve those treasured memories for years to come. Priscilla here from Nubble Light Designs. For today’s 8″ x 8″ one-page scrapbook layout, I combined the timeless elegance of the new Spellbinders “Turn the Page Collection” by Esther Glas with the gorgeous vintage-inspired Scrap Boys “Art Decoria” patterned papers and coordinating die-cut ephemera.
Layered dies, rich textures, and a dimensional 3D embossing folder come together to create a page that feels like it belongs in a cherished heirloom album. Every detail—from the vintage automobile, camera, and filmstrip to the romantic wedding imagery—helps tell the story of a day filled with love, laughter, and happily-ever-after.
So, turn the page and join me as I share how this vintage-inspired layout came together to celebrate one unforgettable wedding day.
🧰 Spellbinders Products Used
- Torn Edges CardLab Etched Dies by Esther Glas
- Number Field 3D Embossing Folder by Esther Glas
- ScrapBoys “Art Decoria” 12×12 Paper Pack
- ScrapBoys “Art Decoria” Die Cuts
- Raven ColorWheel Cardstock
📋 Card Details:
- Cut a piece of Raven ColorWheel Cardstock to 8″x8″.
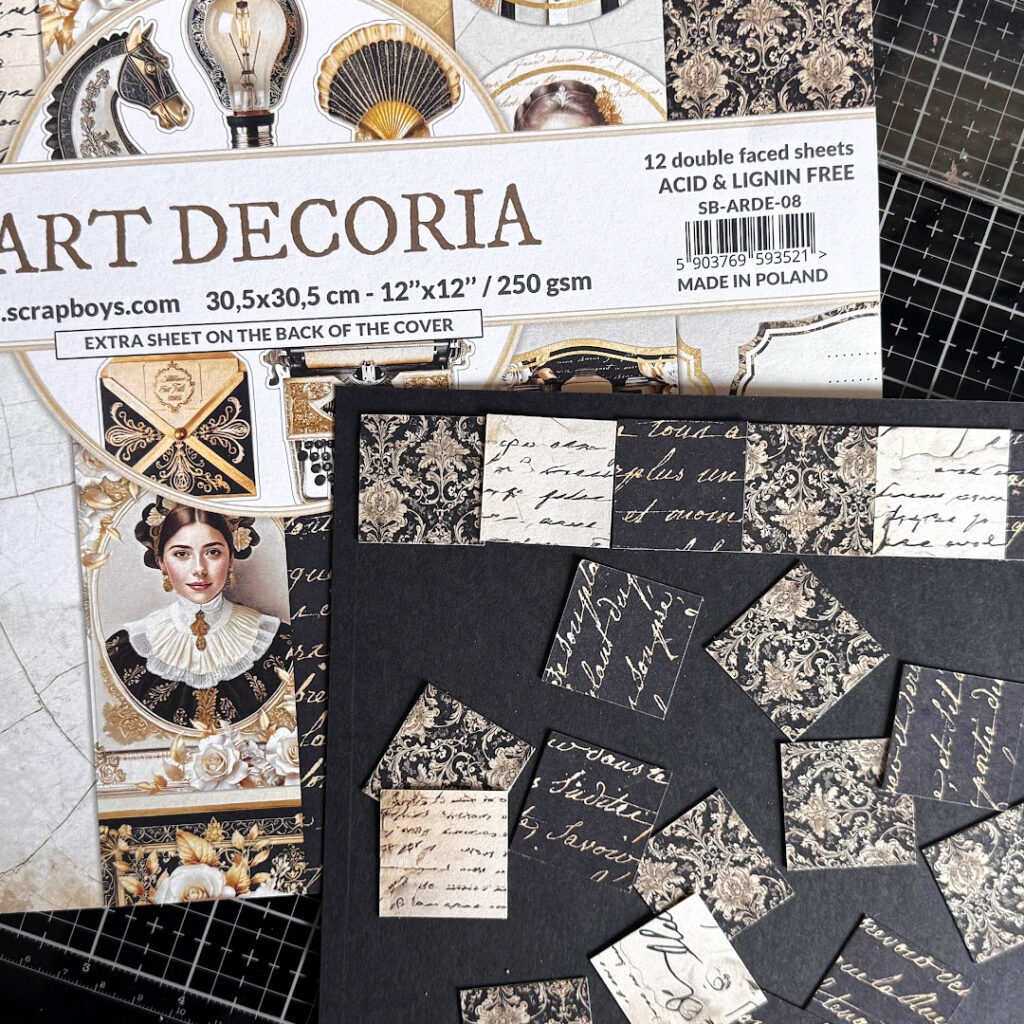
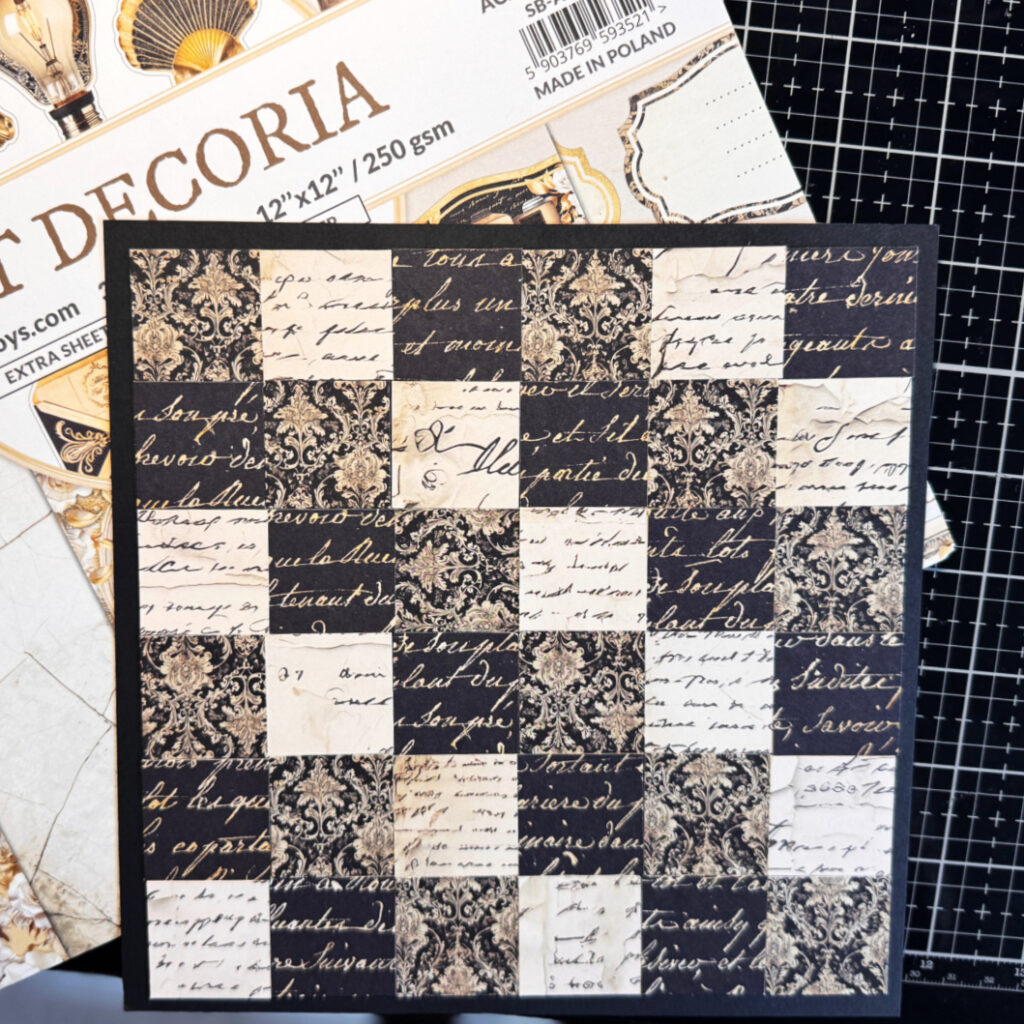
- Using three different patterned papers from the ScrapBoys “Art Decoria” 12×12 Paper Pack, cut 36-1.25″ squares and adhered them in varying order to fill the black base layer, leaving a 1/4″ border all the way around.
- Using a rounded corner die, die cut a piece of scripted patterned paper from the ScrapBoys “Art Decoria” 12×12 Paper Pack.
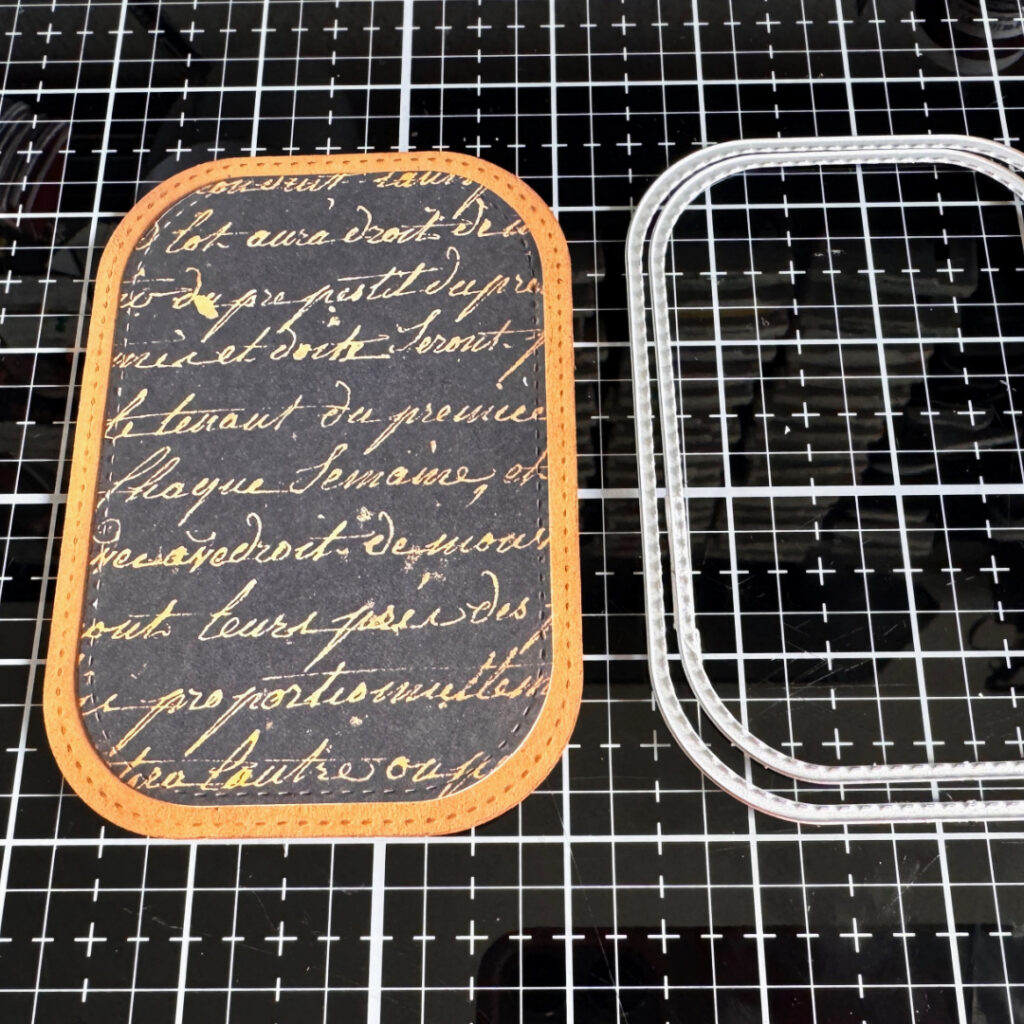
- Die cut brown cardstock using a larger rounded corner frame and adhered it behind the piece of scripted patterned paper to frame it.
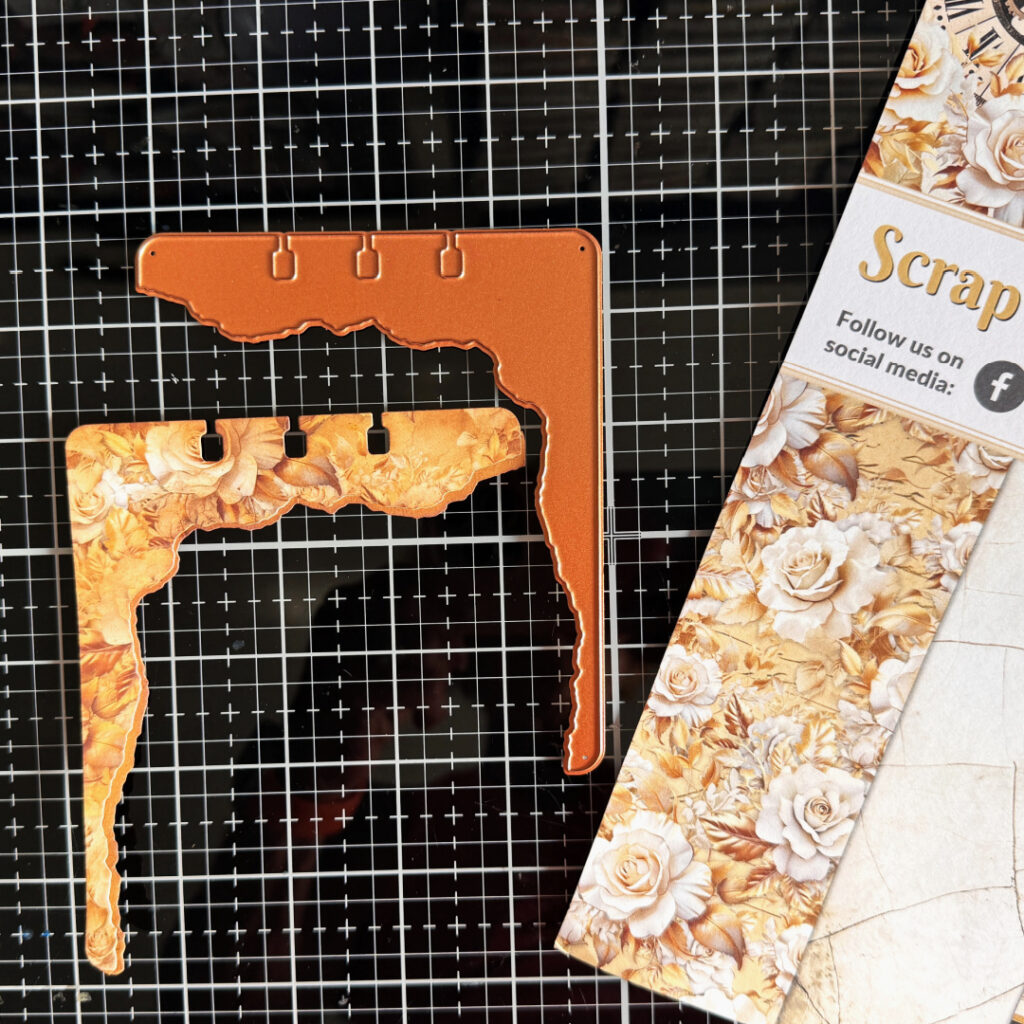
- Using a piece of rose patterned paper from the ScrapBoys “Art Decoria” 12×12 Paper Pack, die cut a “torn” corner using a die from the Torn Edges CardLab Etched Dies by Esther Glas.
- Backed it with brown cardstock and adhered to the bottom right corner of the page,
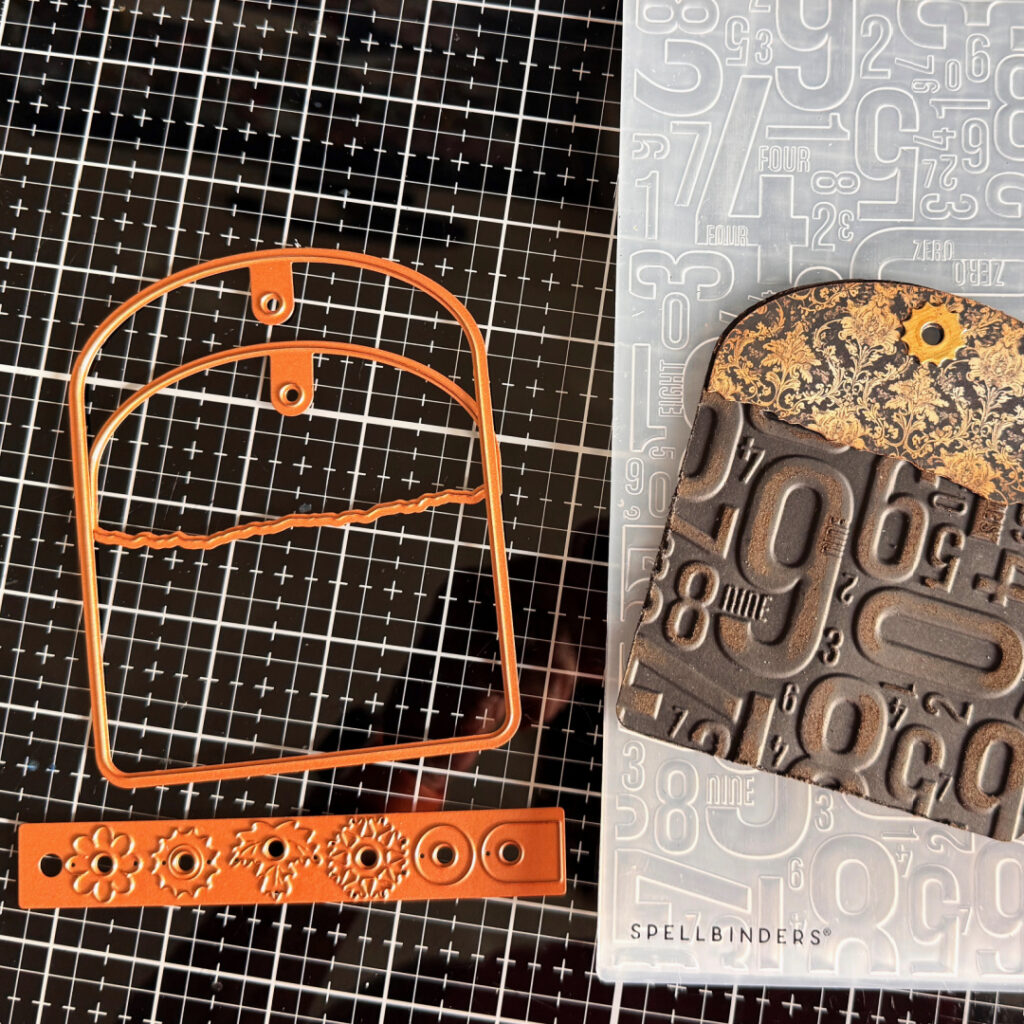
- Die cut the large tag from the Torn Edges CardLab Etched Dies by Esther Glas using Raven ColorWheel Cardstock and embossed it using the Number Field 3D Embossing Folder by Esther Glas.
- Sanded the numbers for a distress look.
- Die cut the tag topper using the paisley patterned paper from the ScrapBoys “Art Decoria” 12×12 Paper Pack and adhered to the top of the tag.
- Die cut one of tag reinforcements from the Torn Edges CardLab Etched Dies by Esther Glas using gold metallic cardstock and adhered over the tag hole.
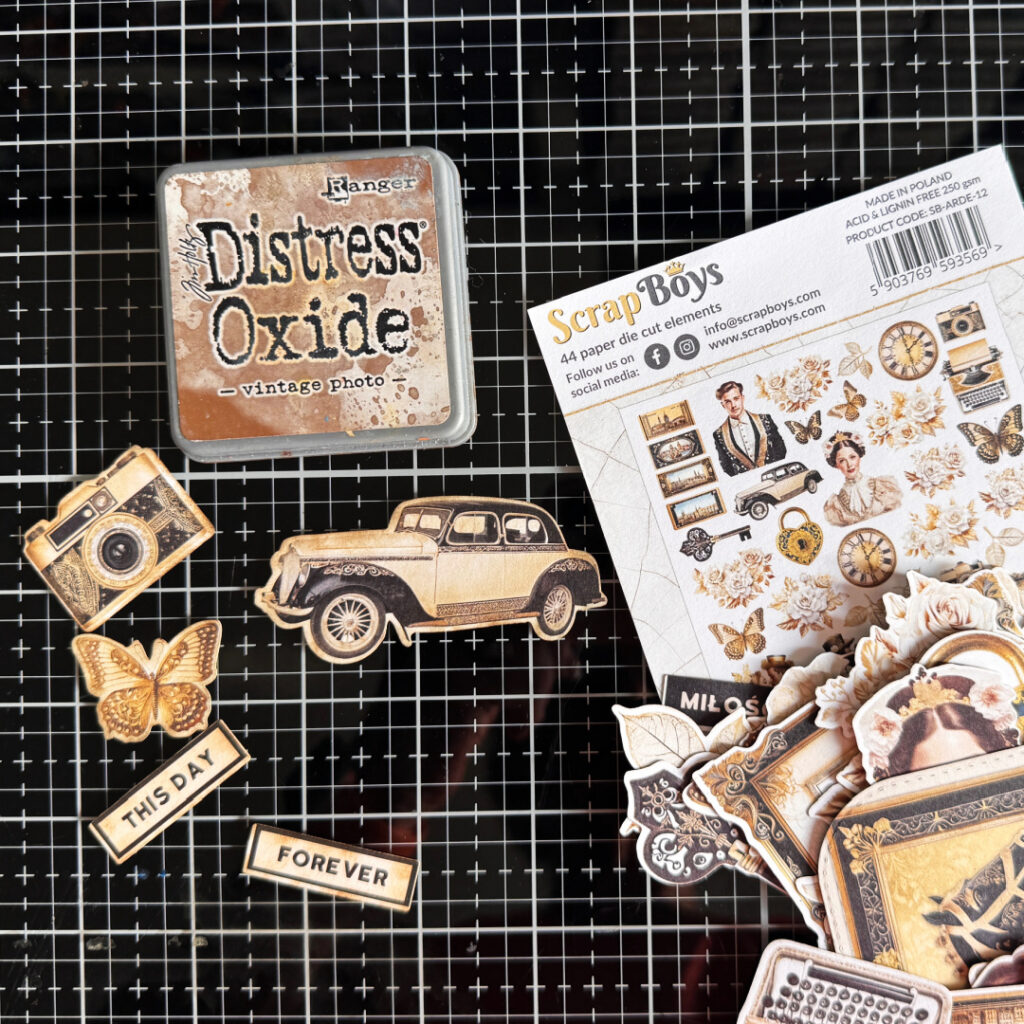
- Sponged Distress Oxide “Vintage Photo” ink on the edges of several die cut ephemera pieces from the ScrapBoys “Art Decoria” Die Cuts and adhered them onto the die cut elements on the scrapbook page.
- Added ribbon, a piece of filmstrip, a a metal sentiment with brads (all from my stash) for the finishing touch!
THANKS FOR STOPPING BY!
Follow my blog, Instagram, and Facebook and join me on my crafty journey as I play with stamps, ink, paint & paper… one project at a time.
I would be so grateful if you use my affiliate links in this post. No extra cost to you!